
Inviting others to your InSpace sessions is as simple as sharing the link--and you can also use our Google Calendar integration to streamline your workflow even further.
1.1 Copy and share the InSpace session link
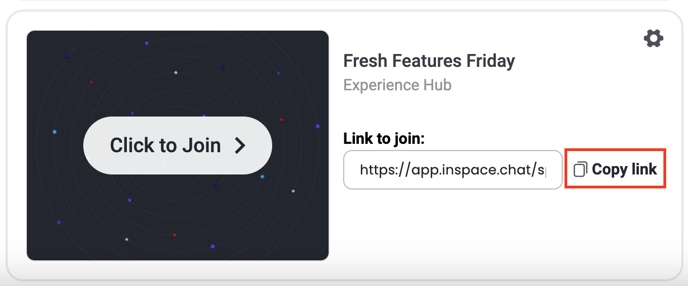
The easiest way to invite people to your InSpace session is to copy your session link. You can copy this from your InSpace Dashboard:
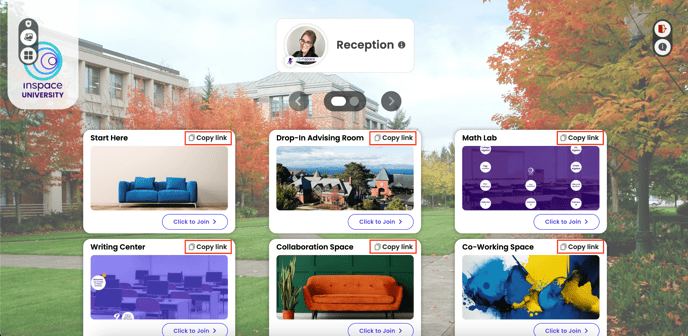
If you are using an Experience Hub, you can also copy links directly to your subspaces from Reception:
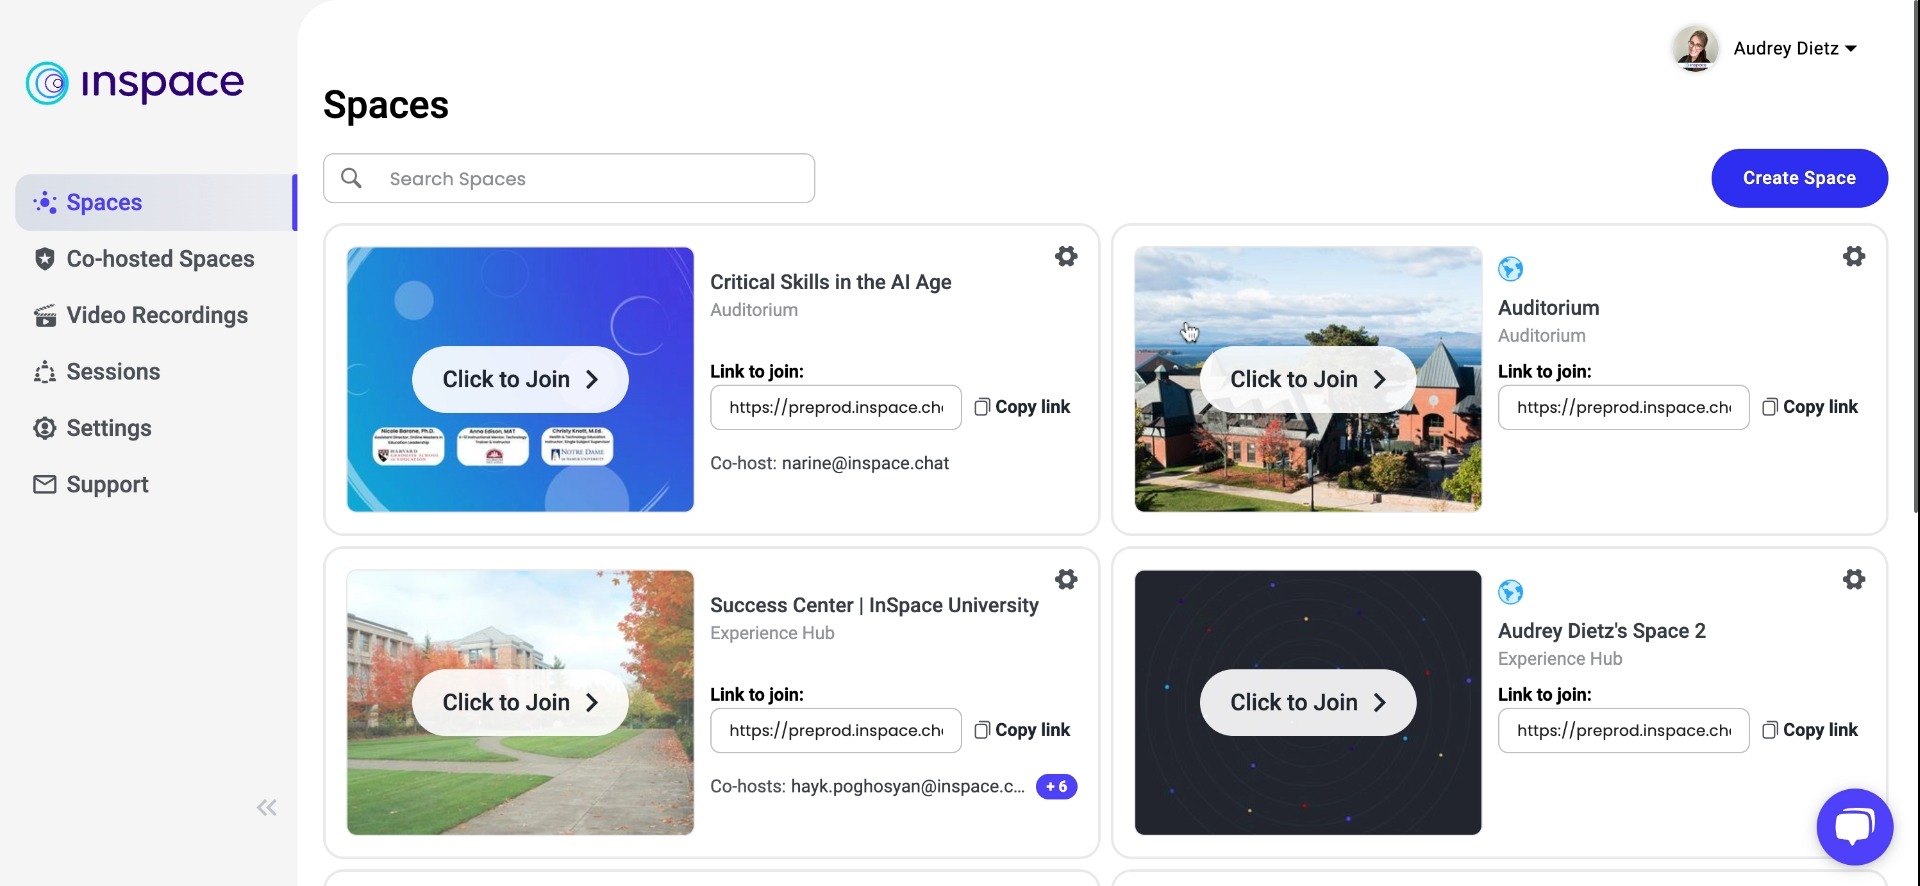
Or you can grab the links from inside the spaces as well:

1.2 Create a Google Calendar Invite
You can also invite people to an InSpace session directly from Google Calendar.
To begin, install the InSpace Google Calendar add-on and follow the prompts.
Once this is installed, create a new calendar event and choose ‘Add video conferencing.’
Click ‘Log in’ and log into your InSpace account.
A Calendar Space will automatically be created for you and attached to your meeting invite.
You can change your default Meeting Invite Space by visiting your InSpace Dashboard, clicking the settings wheel of any space, and checking the box labeled ‘Use this space as default for Google Calendar meetings.’
For more details on the Google Calendar add-on, see Google Calendar and InSpace.
1.3 Invite guests to join you in a session
1. Ensure that you're signed in
Only registered and signed-in participants in a Space can send out invitations.
2. Locate the Invite Button
Within an InSpace session, locate the InSpace task window. Click the double chevron arrows to open the taskbar. You should see a distinct purple button labeled “Invite People.”
3. Type the email addresses of people you'd like to invite
Separate emails with a comma, or use the Tab or Enter key to add emails one by one.
Please note, this feature is coming soon for LMS Spaces. Hosts using this feature from an LMS-affiliated course (a Classroom or Student Space) will only be able to invite people already enrolled in the course.
4. Customize Your Message
After selecting your attendees, you have the option to include a custom message up to 500 characters in length. This is perfect for providing context about the session or any other relevant information.
5. What Happens After Sending an Invitation?
-
For New Participants: If the person you've invited doesn’t yet have an InSpace account, there’s no need to worry! An account will be automatically created for them when they click into your session from the invitation email.
-
For Existing InSpace Users: When participants who already have an InSpace account click on your invitation, they will be redirected straight to the Join Page and connected to their account.
Benefits
This feature is designed to make the process of joining a Space seamless and efficient. By simplifying the invite process and automating account creation, we reduce barriers and ensure that participants can join your session quickly.
Safety Note
Always ensure that you are inviting trusted individuals to your Space. Avoid sharing links or invites on public platforms to maintain the privacy and security of your session.